Circle magnets · 8 min
Set up and sell circle magnets.
Round magnets pull a different kind of photo — pets, headshots, profile shots, single subjects. Set up the product once with the diameter you stock and the Packs you want to sell, then let your customers crop, pick, and pay on their phone.
1. Add the product
One product, one diameter, your Pack tiers.
Products → New → Circle Magnets. Pick the diameter you stock, set your Pack tiers and prices, save. Teal numbers below match the badges on the screenshot.
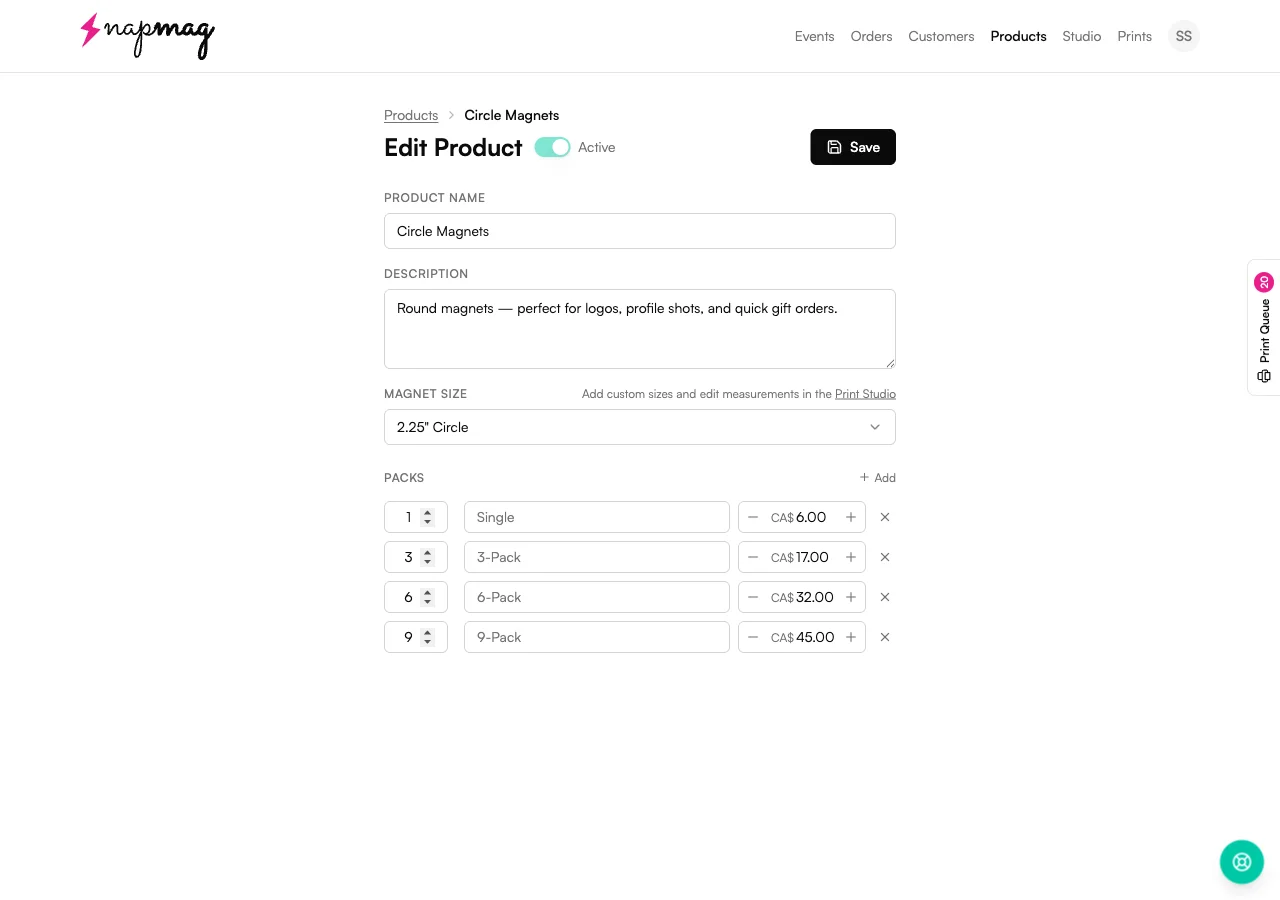 123
123Magnet Size
- Set it to
- Pick the diameter for this product — 1.5", 1.75", 2", 2.25", 2.5", or 3".
- Worth knowing
- One product is one diameter. If you stock more than one size, make a separate Circle Magnets product for each — Edit Measurements saves per size, so they stay independent. Custom sizes get added in Print Studio.
Packs
- Set it to
- Each Pack is a sellable tier — Single, 3-Pack, 6-Pack, 9-Pack. Set the count on the left and the price on the right.
- Worth knowing
- The price you set is what the customer pays for the whole Pack, not per magnet. A 6-Pack at CA$32 sells as one $32 order with six photos, not six $32 orders.
Add
- Set it to
- Tap + Add to drop in another Pack tier — a 12-Pack for keychain orders, a 4-Pack to match your most-asked-for set, whatever fits your booth.
- Worth knowing
- Tiers you add show up at checkout the same way the presets do. Customers see your Packs in the order you list them.
2. Turn it on for an event
Tick the box. Change Pack prices if you want.
When you create a new event, every product has a checkbox and a Packs row. Open Packs to bump or drop prices for this event without touching your saved product.
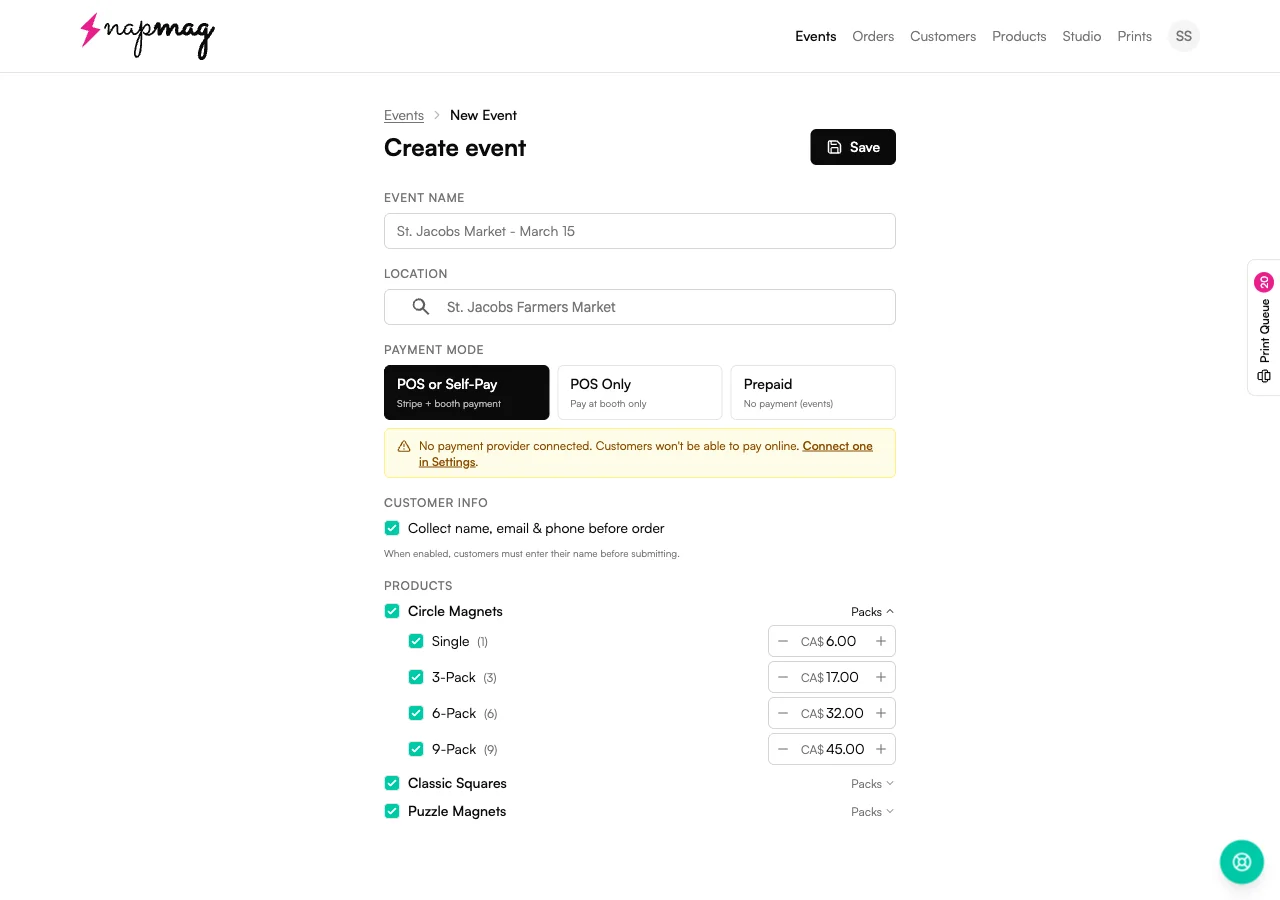
Run a market discount on the 6-Pack, push the 9-Pack at a wedding fair, or skip Singles altogether for one event. None of it touches your saved Pack prices.
3. What the customer sees
Pick a Pack, crop in a circle, pay.
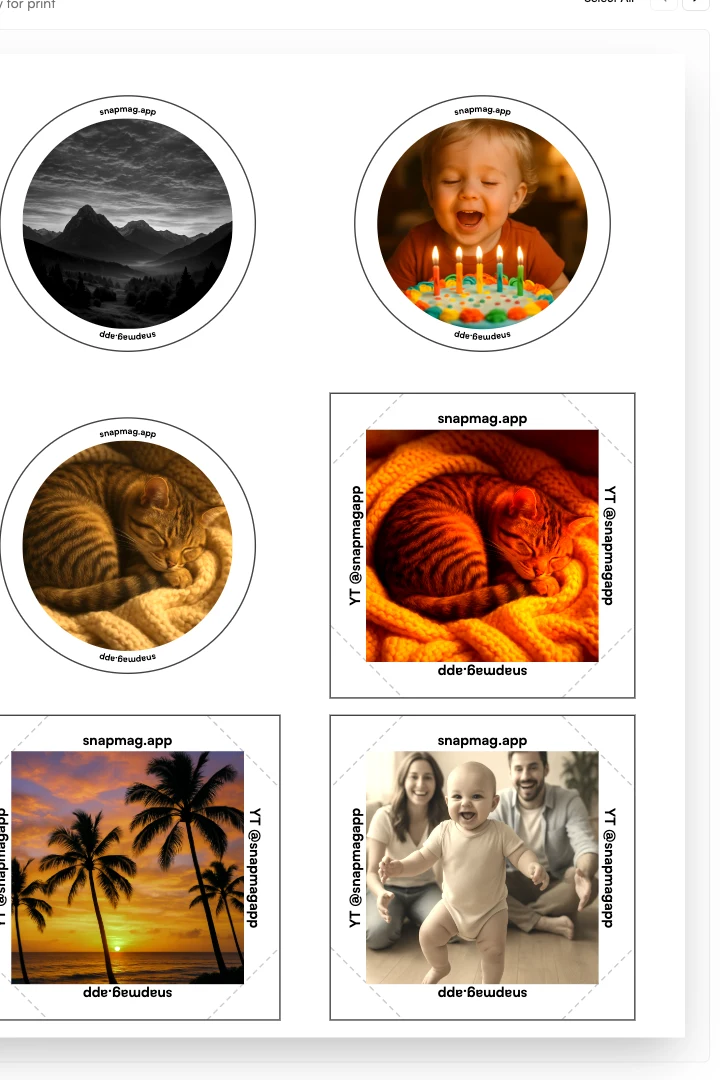
On the customer's phone, the crop frame is a circle. Whatever sits inside that circle is what prints — anything outside is wrap, not visible on the magnet face.
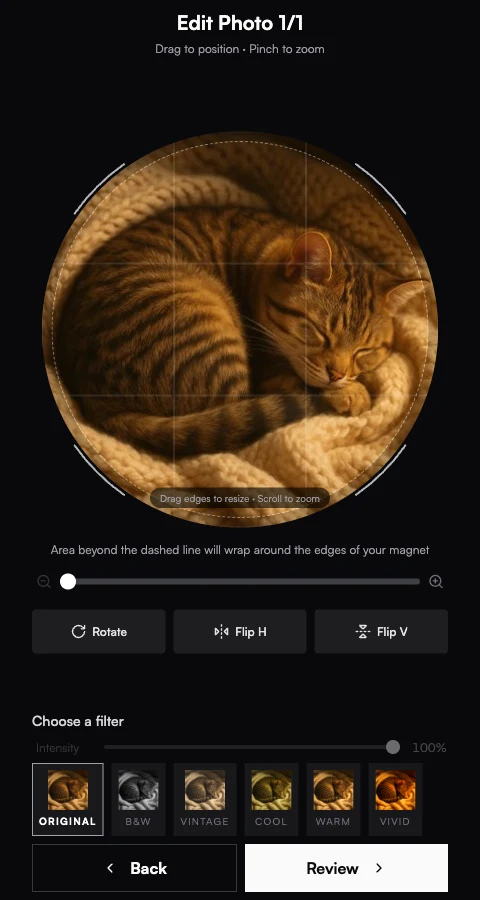
The crop frame is round
Drag to position, pinch to zoom. The dashed line shows what wraps around the edge of the magnet — anything outside the circle.
- Round crop, every time. The frame locks to a circle — customers can't send a square photo by mistake. Subjects end up centred without thinking about it.
- Live preview at the right diameter. What they see is sized to the magnet they picked. The dashed ring marks the wrap edge so they know where their photo gets cut off.
- Same buttons as your squares. Rotate, Flip, Zoom, and the filter row work exactly the same. You don't have to teach customers a new flow at the booth.
- Pet and portrait friendly. Round crops do most of the centring work for headshots, pets, and single subjects — the photo just sits in the circle.
4. Print day
Circles share sheets with squares.
In your event's order table, a circle order looks like any other — queue number, status, total. The print queue mixes circles, squares, and rectangles on the same sheet to fit as many as the paper allows.
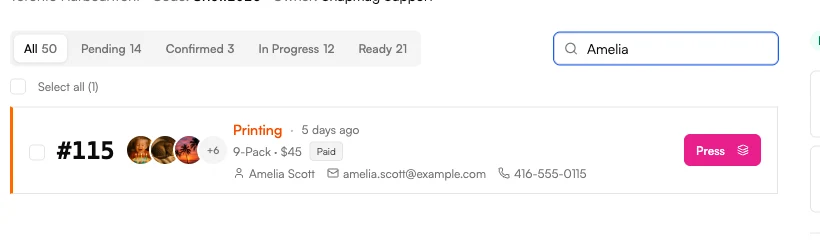
- Each magnet tracked on its own. Queue number, status, and pickup all live with the order — but every magnet has its own thumbnail and edits saved.
- Edit Measurements saves per diameter. A 2" cut isn't the same as a 3" cut on the same machine. Each size has its own Photo Size, Edge Width, and Cut Offset — see the size measurements guide.
- Mixed sheets are fine. The queue fills each sheet with whatever fits — a circle next to a square next to another circle. You don't lay anything out by hand.
First-event checklist
Run a test sheet for every diameter you stock before your first event. Cut Offset and Edge Width drift size-to-size, even on the same press — see the size measurements guide.
Frequently asked
Circle questions vendors actually send us.
Which diameter sells best at a market booth?+
Can circle magnets share a print sheet with squares?+
Do I need separate Edit Measurements for each diameter?+
Can the customer change diameter mid-order?+
Keep going
Related reads.
Getting started with Vixie
Account, payments, products, branding, and your first event in about 30 minutes.
Read more →Event-day · 7 stepsRunning a Vixie event
From Start event to last pickup — the order pipeline, batch printing, and walk-ups.
Read more →Size measurements · 10 minMagnet size measurements
Annotated walkthrough of every Edit Measurements field, plus a diagnostic table for the test sheet.
Read more →Puzzle magnets · 12 minSelling puzzle magnets
Set up puzzle grids, switch the product on for an event, and follow the pieces through the customer flow and print queue.
Read more →Ready to add circle magnets to your booth?
Add the product, set your Packs, and tick it on for your next event. Your customers do the cropping for you.
Start Free 7-Day TrialNo credit card required. Cancel anytime.